
THE BUILDING
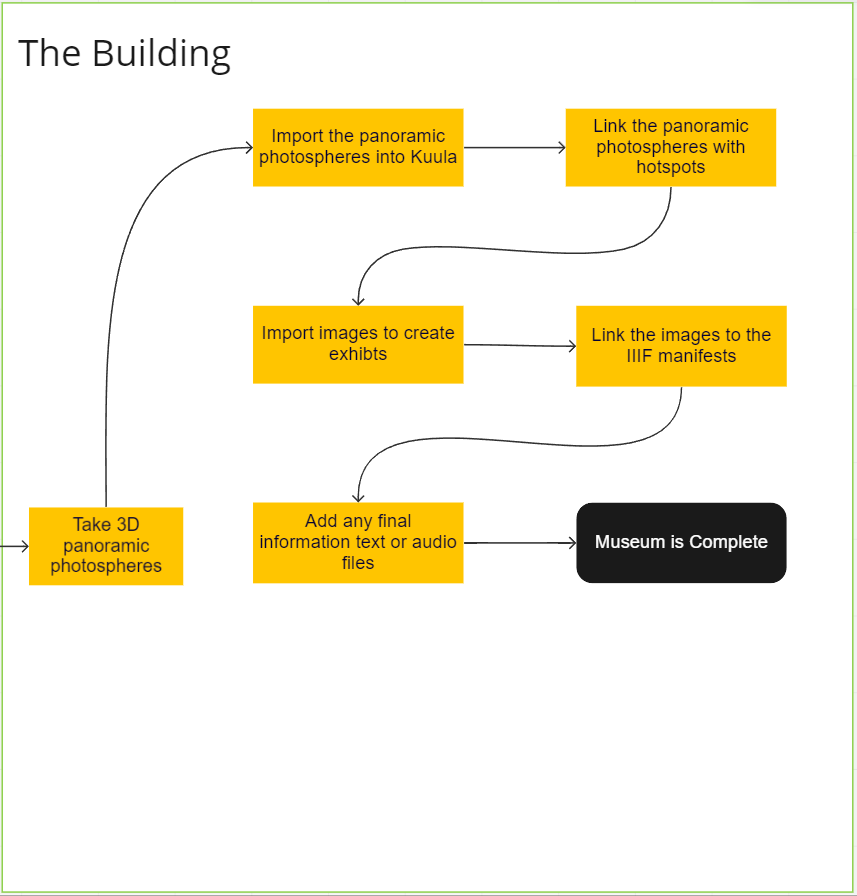
The final section of the process is creating the virtual tour.
Firstly, to take the 3D panoramic photospheres enable the panoramic capture plugin and add the model BP_Capture to your model. You may need to edit the blueprint of this object and change the file path at SP.OutputDir to “\yourFilePath” as well as unlink the capture command from the rest of the blueprint.
Start simulating the game and adjust your position to where you wish to take the photo and enter SP.PanoramicScreenshot into the console. Do not try to interact with the window for a few minutes and repeat for each photo, the window may freeze.
In Kuula import the photos into a new tour and begin by adding hotspots to link each sphere.
Set the hotspot added to ‘go to another post’
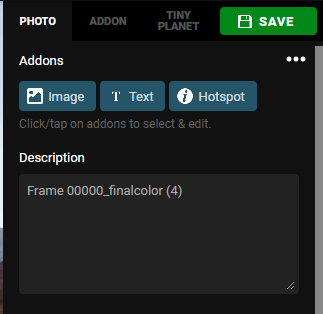
Where you want to add exhibits add a hotspot and change its image to a photo of the exhibit You can alter the orientation of these images by clicking advanced, next to rotation.
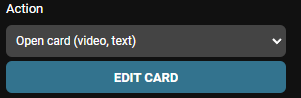
Set these hotspots to ‘Open card (video, text) ’
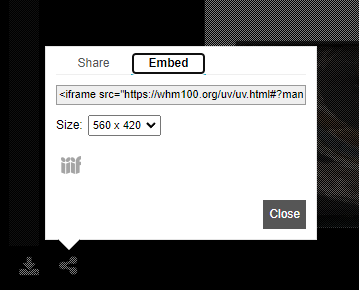
Using an already existing universal viewer display of the exhibit click the share then embed buttons
Copy and paste the iFrame html into the media box in Edit Card in Kuula.

To add text or images add further hotspots and using the same ‘Open Card (video, text)’ just enter the text or add image
Repeat these steps for each photosphere and the museum will be complete. There are a few other features to try out under the edit tour button.